How to Add a Popup to Your Website in 5 Minutes (No Code)
March 27, 2026
10
Min Read Time
Most websites are losing visitors every single day. Research consistently shows that over 95% of website visitors leave without taking any action, no email, no purchase, no inquiry. That's not a traffic problem. That's a conversion problem. And one of the most effective, fastest fixes available to any website owner is learning how to add a popup to a website the right way.
You do not need a developer, HTML knowledge, or a single line of JavaScript. With a no-code popup for website setup, you can have a working popup live on Shopify, WordPress, Webflow, Squarespace, or any custom site in under five minutes. This website popup tutorial walks you through the entire process, from account creation to your popup going live, step by step.
What Do You Need to Add a Popup to a Website?
Before diving into the steps, here's what you actually need. The list is shorter than most people expect:
A website, any platform works: WordPress, Shopify, Webflow, Squarespace, or a custom HTML site
A free popup builder account: tools like SuperPopups offer a free plan with no credit card required
Access to your website's settings, specifically, the ability to paste a small script into your theme or footer (this takes about 30 seconds)
A clear goal, email capture, exit intent, a discount offer, or an announcement
That is it. No coding knowledge. No design experience. No developer. This is exactly what makes a free popup for website campaigns so accessible, whether you run a blog, an ecommerce store, or a SaaS product, the setup is the same and it takes under five minutes.
How to Add a Popup to Your Website in 5 Minutes: Step-by-Step
This website popup tutorial uses SuperPopups as the example tool, it is one of the fastest ways to add a popup to a website without coding, with a script under 50KB that loads asynchronously and has zero impact on your Core Web Vitals score. The steps below work on Shopify, WordPress, Webflow, Squarespace, and any custom HTML site.
Here's the complete how to install a popup on a website walkthrough:
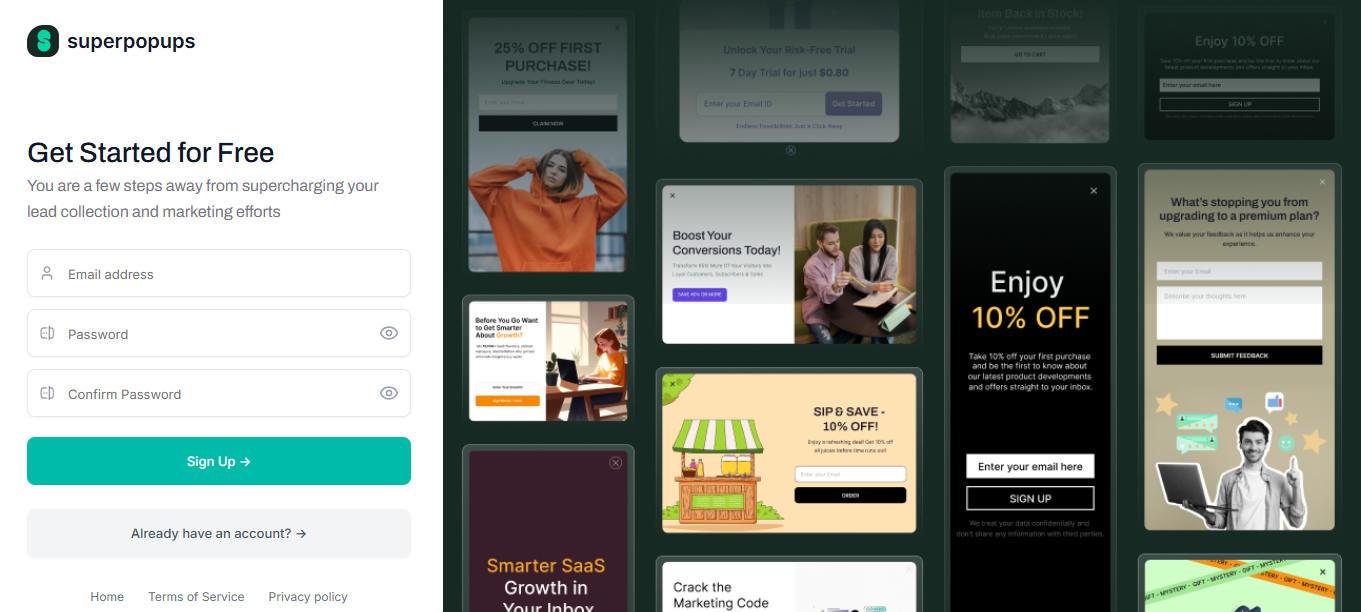
Step 1: Sign Up for a Free No-Code Popup Builder
Go to superpopups.com and create a free account. No credit card is required. The free plan includes everything you need to launch your first popup, including templates, trigger settings, targeting options, and a real-time analytics dashboard.
The add popup to website free option is live from your first login. You can go from signup to published popup without spending anything.
Step 2: Choose Your Popup Type
Once you're inside the dashboard, you'll be prompted to create your first popup. The first decision is choosing what kind of popup fits your current goal. With SuperPopups, you can create:
Email capture popup: Collect email addresses in exchange for a discount or free resource
Exit intent popup: Show a targeted message when a visitor is about to leave
Welcome / discount popup: Offer first-time visitors a reason to stay and explore
Announcement popup: Share a product update, sale, or important notice
Sticky bar: A persistent banner fixed to the top or bottom of the screen
For most new users, starting with either an email capture popup setup or an exit intent popup setup is the fastest path to measurable results.
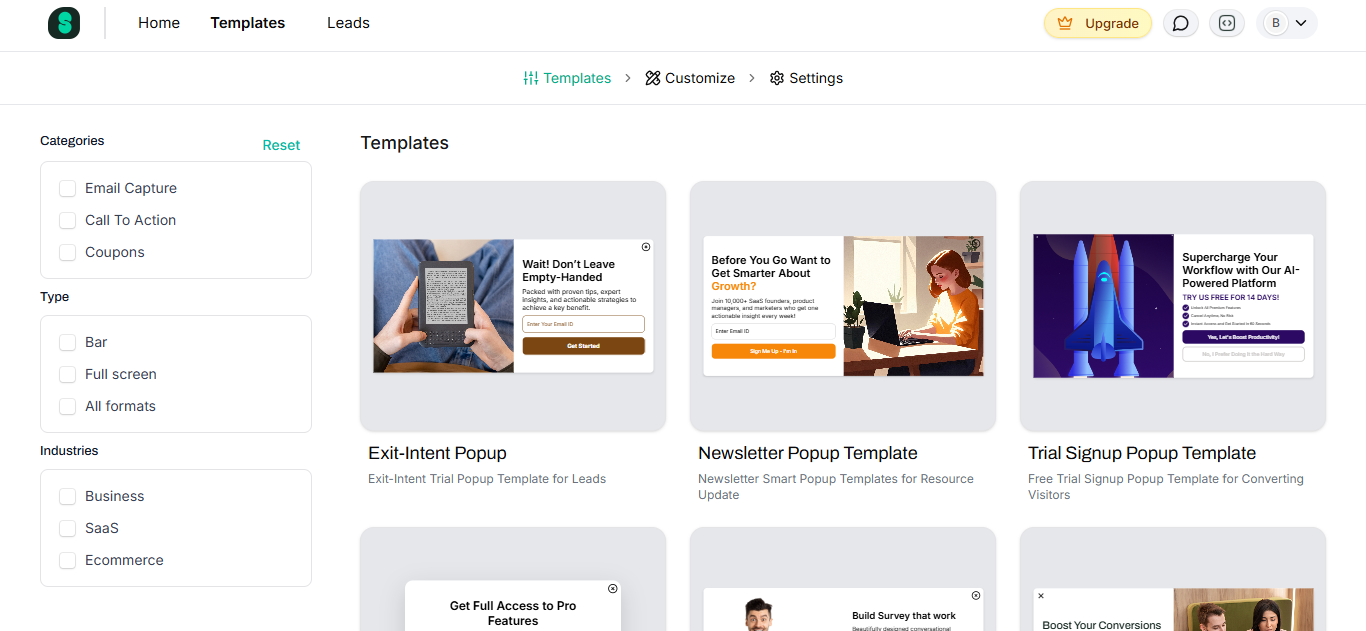
Step 3: Pick a Template and Customize It
SuperPopups includes a library of professionally designed popup templates built for different goals and industries. Pick the one that best matches your goal, then customize it in the no-code visual editor:
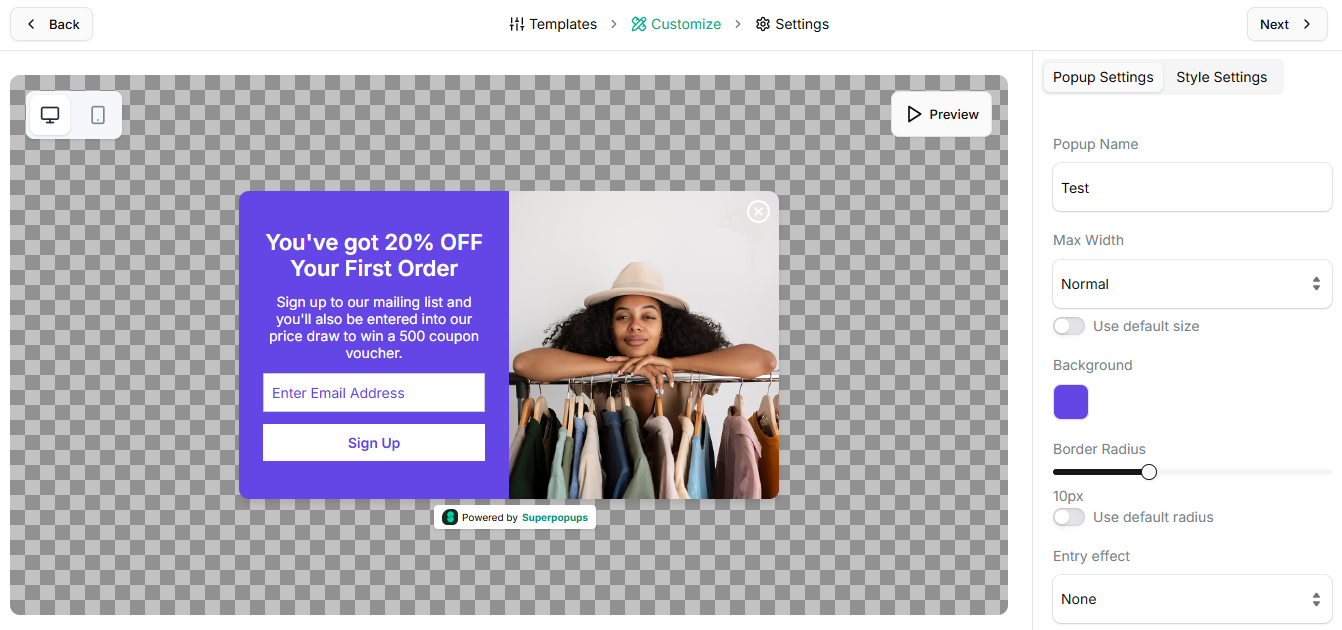
Headline: Write a clear, benefit-focused message (e.g., "Get 15% Off Your First Order")
Body text: One short sentence explaining the offer or value
CTA button: Use action-first copy like "Get My Discount" or "Start Free Trial"
Colors and fonts: Match your brand without touching any code
Images: Swap or remove images directly in the editor
Everything is easy. You can see a live preview of exactly how your popup will look on both desktop and mobile before you publish.
This is where a lot of popup tools get complicated, but SuperPopups keeps it clean and practical. There are two trigger options:
1. Exit Intent
SuperPopups detects when a visitor moves their cursor toward the browser's close button or navigates away from your page. The popup fires at that exact moment, a final, well-timed offer before the visitor leaves. This is the most commonly used trigger for cart abandonment recovery, trial offer popups, and last-chance discount campaigns.
2. Show After (Time Delay)
The popup appears after a visitor has spent a set number of seconds on the page. You control how many seconds. This works well for engaged visitors who've had time to read your content and are more likely to respond to an offer. A 20–45 second delay is a good starting point for most pages.
Here's a quick reference for choosing the right trigger:
Trigger
When It Fires
Best Use Case
Exit Intent
Visitor cursor moves toward close/back
Cart recovery, lead capture, last-chance offers
Show After (Time Delay)
After X seconds on the page
Engaged readers, pricing page visitors, blog subscribers
Step 5: Set Your Targeting Rules
SuperPopups gives you precise control over who sees your popup and when. These targeting options ensure you're showing the right popup to the right person, which directly improves your conversion rate and user experience.
Here are the targeting settings available:
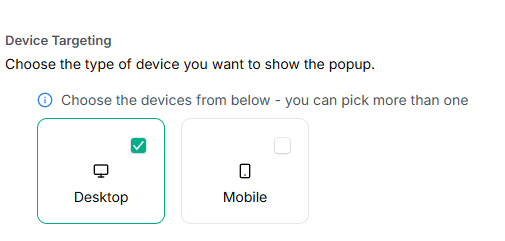
Device Targeting
Choose whether the popup shows on mobile, desktop, or both. This is important because a full-screen popup that looks great on desktop might be too aggressive on a small phone screen. SuperPopups lets you control this independently so your mobile experience stays clean.
Page Targeting
You can choose to display the popup on all pages of your website, or restrict it to specific pages only, for example, only on your pricing page, checkout page, or a specific blog post. This lets you match the offer to the page context, which makes popups significantly more relevant and effective.
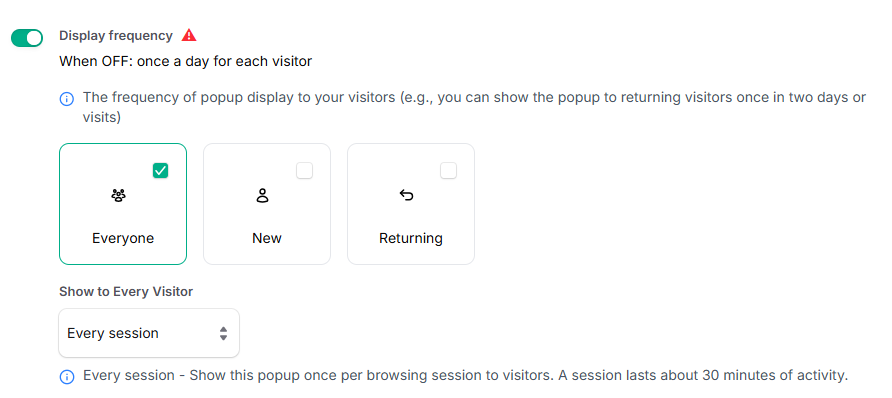
Display Frequency
This setting controls how often the same visitor sees the popup:
Everyone — shows to all visitors, every time
New visitors only — only shows to first-time visitors
Returning visitors only — only shows to people who've been to your site before
Once per session — shows the popup once per browsing session (a session lasts roughly 30 minutes of activity), so the same visitor won't be shown the same popup multiple times in one visit
Email Notifications
You can toggle whether SuperPopups sends you an email notification when a visitor submits the popup form. Useful for demo request popups or high-value lead capture forms where you want to be notified immediately.
Getting these targeting settings right is just as important as the popup design itself. A well-targeted popup feels helpful; a poorly targeted one feels annoying.
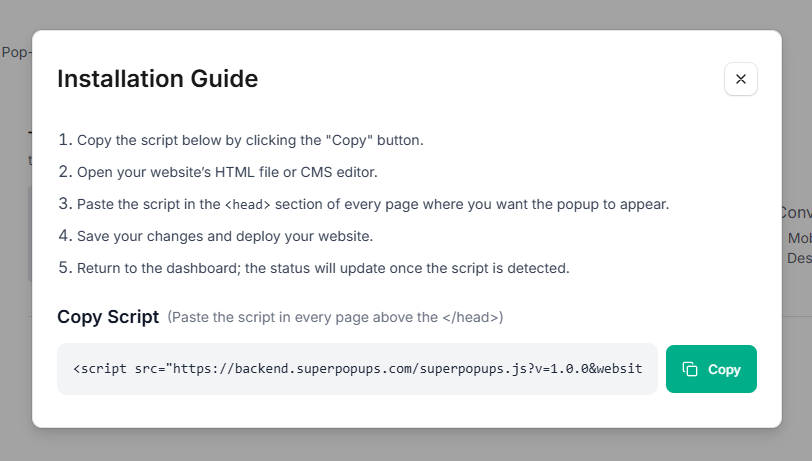
Step 6: Copy the Embed Script
Once your popup is designed and configured, SuperPopups generates a single popup builder embed code, a lightweight popup script for website installation that is under 50KB. This is the only technical step in the entire process, and it takes about 30 seconds. This is the only technical step in the entire process, and it takes about 30 seconds.
Click "Get Embed Code" (or equivalent) in the SuperPopups dashboard. Copy the entire code snippet. You'll paste this once into your website, and from that point on, all future popups you create or edit in SuperPopups will go live automatically, no further code changes needed.
This is what makes the how to embed a popup script process so clean with SuperPopups: install once, then manage everything from the dashboard.
Step 7: Paste the Script and Go Live
Paste the embed script just before the closing </body> tag of your website. Where exactly you do this depends on your platform. See the platform-specific guides in the next sections.
Once the script is pasted and saved, your popup is live. That's the complete how to create a popup on a website process, done.
How to Add a Popup to WordPress Without a Plugin
If you're running a WordPress site and want to add popup to WordPress website without cluttering your plugin library, here's the fastest approach:
Log in to your WordPress dashboard
Go to Appearance → Theme Editor (or Appearance → Customize → Additional CSS/HTML depending on your theme)
Open your footer.php file in the theme editor
Find the closing </body> tag near the bottom of the file
Paste your SuperPopups embed script just before </body>
Click Update File
Alternatively, if you want to avoid editing theme files directly, install a free plugin like Insert Headers and Footers (by WPCode). This lets you paste the script into a clean settings field without touching any theme code, a slightly more beginner-friendly approach to adding a website popup without plugin dependency on Shopify-style app ecosystems.
Either way, the popup goes live as soon as the script is saved.
In the file list on the left, open the theme. liquid
Scroll to the very bottom of the file and find the closing </body> tag
Paste your SuperPopups embed script just before </body>
Click Save
Your popup is now live on your Shopify store. Because SuperPopups is script-based rather than app-based, it works on any Shopify theme without any compatibility issues, and it won't add to your app count or slow down your storefront.
Find the Footer Code section (this is added just before </body> on every page)
Paste your SuperPopups embed script into the Footer Code field
Click Save Changes
Publish your Webflow site to push the change live
You can also add the script to a specific page only by going into that page's settings and adding it under Before </body> tag, which is useful if you want a specific popup to run on one page only.
What Types of Popups Can You Add to a Website?
Once the embed script is installed, you can create and publish as many different popup types as you need, all without touching your site again. Here are the main formats available in SuperPopups:
Exit intent popup fires when a visitor is about to leave; great for last-chance offers and cart recovery
Time-delayed popup, appears after the visitor has been on the page for a set number of seconds; good for engaged readers and pricing page visitors
Email capture popup collects email addresses in exchange for a discount, free resource, or access offer
Welcome popup, greets first-time visitors with an offer or announcement
Sticky bar, a persistent, non-intrusive banner fixed at the top or bottom of the screen
Each type serves a different conversion goal. Most businesses run 2–3 different popup types simultaneously, for example, a sticky bar for an ongoing promotion and an exit intent popup for cart recovery.
Popup Trigger Settings: When Should Your Popup Appear?
Choosing the right trigger is one of the most important decisions in your popup setup guide. The same popup design can perform very differently depending on when it appears.
Trigger
When It Fires
Best Scenario
Recommended Use
Exit Intent
Visitor cursor moves toward browser close/back
Visitor about to leave without converting
Product pages, cart pages, pricing pages
Show After (Time Delay)
After X seconds on the page
Visitor has engaged with content
Blog posts, long landing pages, feature pages
A few practical timing tips:
For exit intent, no delay needed; it fires at the right moment automatically
For time delay, start with 20–30 seconds and adjust based on your analytics data
Use device targeting to show a different popup version on mobile vs desktop
Use page targeting to show the popup only on pages where the offer is most relevant
Use display frequency settings to avoid showing the same popup to returning visitors too often. Once per session is a good default that respects the visitor experience without leaving conversion opportunities on the table
What Are the Best Practices After Adding Your Popup?
Getting the popup live is just the start. These best practices will help you get the most out of it:
Test on mobile immediately, open your site on your phone right after publishing, and confirm the popup displays correctly and is easy to close
Check your trigger timing, visit your site yourself, and verify the popup fires at the right moment
Review your analytics dashboard. SuperPopups shows real-time data on views, clicks, and conversions from day one
Run an A/B test on your CTA, swap out your button text after the first 100 views, and compare which version gets more clicks
Check your email integration. If you're using the email capture form, confirm that submissions are flowing correctly to your email marketing tool
Revisit display frequency. If you notice a high dismissal rate, consider tightening your targeting or switching from "everyone" to "new visitors only."
Don't set and forget, revisit the popup performance every 2 weeks, and make small adjustments based on the data
The difference between a popup that converts at 3% and one that converts at 10% is usually not the design; it's the trigger timing, the offer relevance, and the targeting settings. Small adjustments make a significant difference over time.
Choose a no-code popup builder like SuperPopups, create your popup in the visual editor, set your trigger and targeting rules, copy the embed script, and paste it before the </body> tag on your website. The whole process takes under 5 minutes.
2) How do I add a popup to a website without coding?
Use a script-based tool like SuperPopups. You design the popup entirely in a visual editor, and the tool generates a single embed code. You paste that code once into your website's footer and from that point all popup management happens in the dashboard, no further coding needed.
3) How do I add a popup to WordPress without a plugin?
Open your WordPress theme editor, find footer.php, locate the closing </body> tag, and paste your SuperPopups embed script just before it. Save the file. Alternatively, use the free Insert Headers and Footers plugin to paste the script without editing theme files directly.
4) How do I add a popup to Shopify without an app?
Go to Shopify Admin → Online Store → Themes → Edit Code → open theme.liquid → find the </body> tag → paste your SuperPopups embed script just before it → save. No app installation required.
5) Does adding a popup slow down my website?
Not with SuperPopups. The embed script is under 50KB and loads asynchronously, which means it doesn't block your page content from loading. Your page speed and Core Web Vitals scores are not affected.
6) What is the best free popup builder for a website?
SuperPopups offers a free plan with no credit card required. It includes templates, exit intent and time delay triggers, device and page targeting, display frequency controls, and real-time analytics, everything you need to launch and manage popups without spending anything.
7) Can I add different popups to different pages?
Yes. SuperPopups includes page targeting that lets you choose exactly which pages a popup appears on. You can set one popup to show only on your pricing page and another to show only on blog posts, each with its own design, offer, and trigger settings.
Ready to Add Your First Popup? Start Free in 5 Minutes
Now you know exactly how to add a popup to a website, without writing a single line of code, without hiring a developer, and without spending hours on a setup that should take minutes.
Set your trigger (exit intent or time delay) and targeting rules
Copy the embed script and paste it once into your website
Go live and start tracking results
Whether you're running a Shopify store, a WordPress blog, a Webflow site, or any other kind of website, SuperPopups gives you a lightweight popup builder that works everywhere, loads fast, and converts from day one.
The SuperPopups Team is a collective of writers and growth marketers who blend storytelling with conversion strategy. We break down complex CRO, popup optimization, and on-site engagement tactics into clear, practical content that teams can actually use. Our mission is simple: create helpful, data-driven resources that empower businesses to boost conversions, improve user experience, and grow smarter.
More Articles
May 22, 2026
13
Min Read Time
How to Set Up a Popup Funnel That Nurtures Visitors from First Visit to Conversion
Learn how to set up a popup funnel that nurtures visitors from first visit to conversion with the right popup strategy, timing, and offers.
How to Use Popups with Google Ads Landing Pages Without Hurting Quality Score
Popups can hurt your Google Ads Quality Score, but only the wrong ones. Learn which popup formats are safe for PPC landing pages and how to set them up.
What Is Popup Fatigue and How to Avoid It on Your Website
Popup fatigue kills conversions silently. Learn what it is, what causes it, and 6 proven fixes to avoid it on your website without removing your popups.
Sleeknote Alternatives: Best Popup Builders to Consider in 2026
Sleeknote too expensive? Discover the 4 best popup builder alternatives in 2026, one is free forever. Compare features, pricing & find the right fit for you.
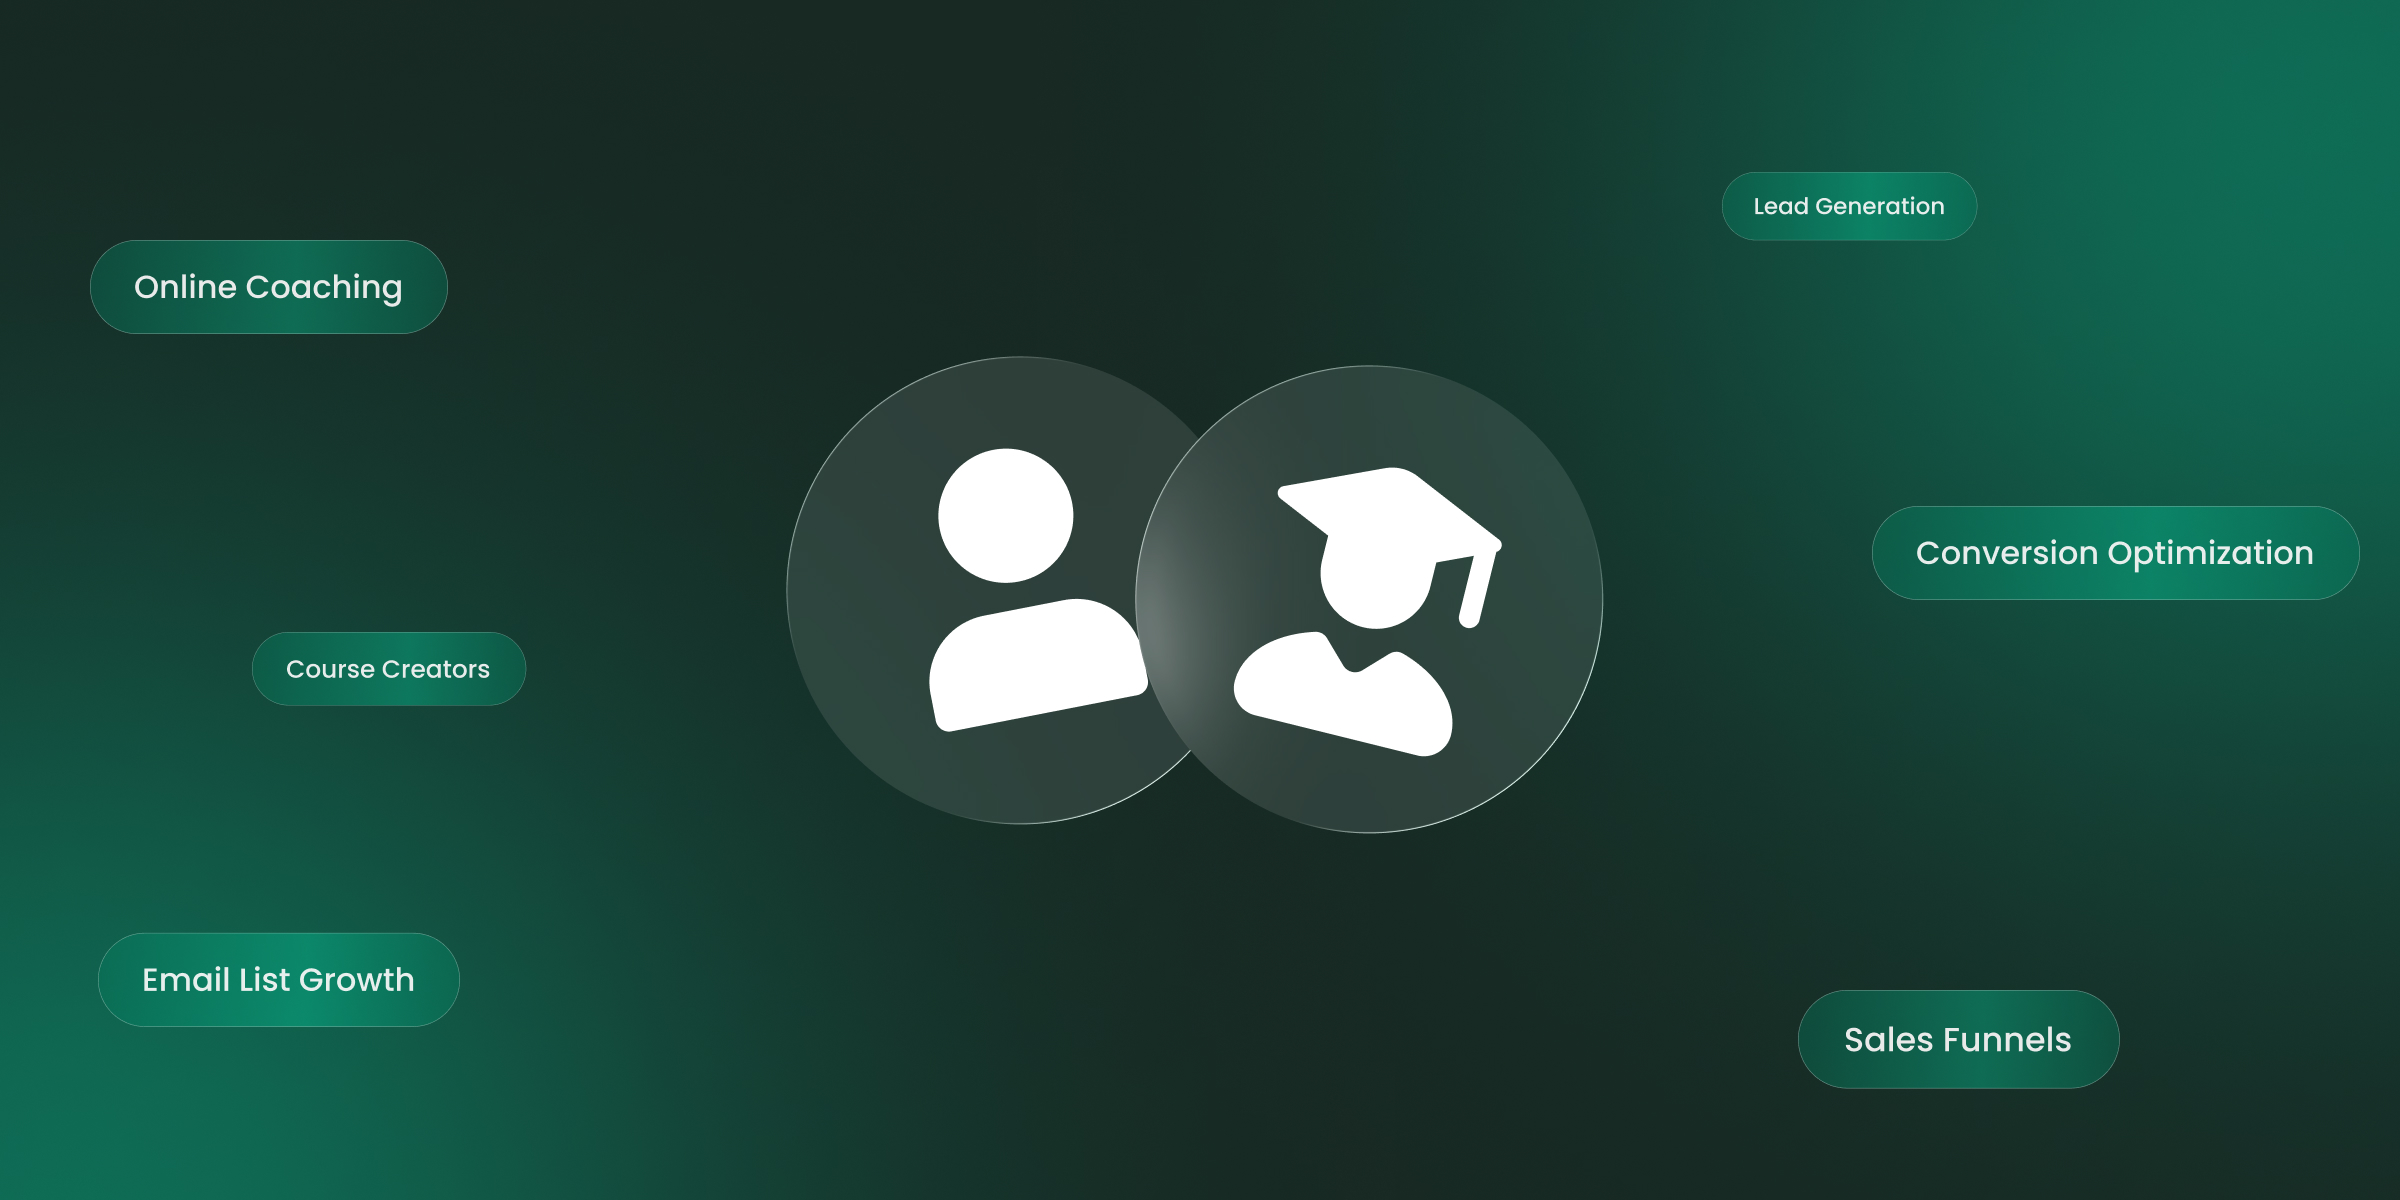
Popups for Online Coaches and Course Creators: Grow Your List and Sell More Courses
Coaches lose leads daily from visitors who don't subscribe or enroll. Learn how popups for online coaches grow your list and sell more courses, FREE with SuperPopups.
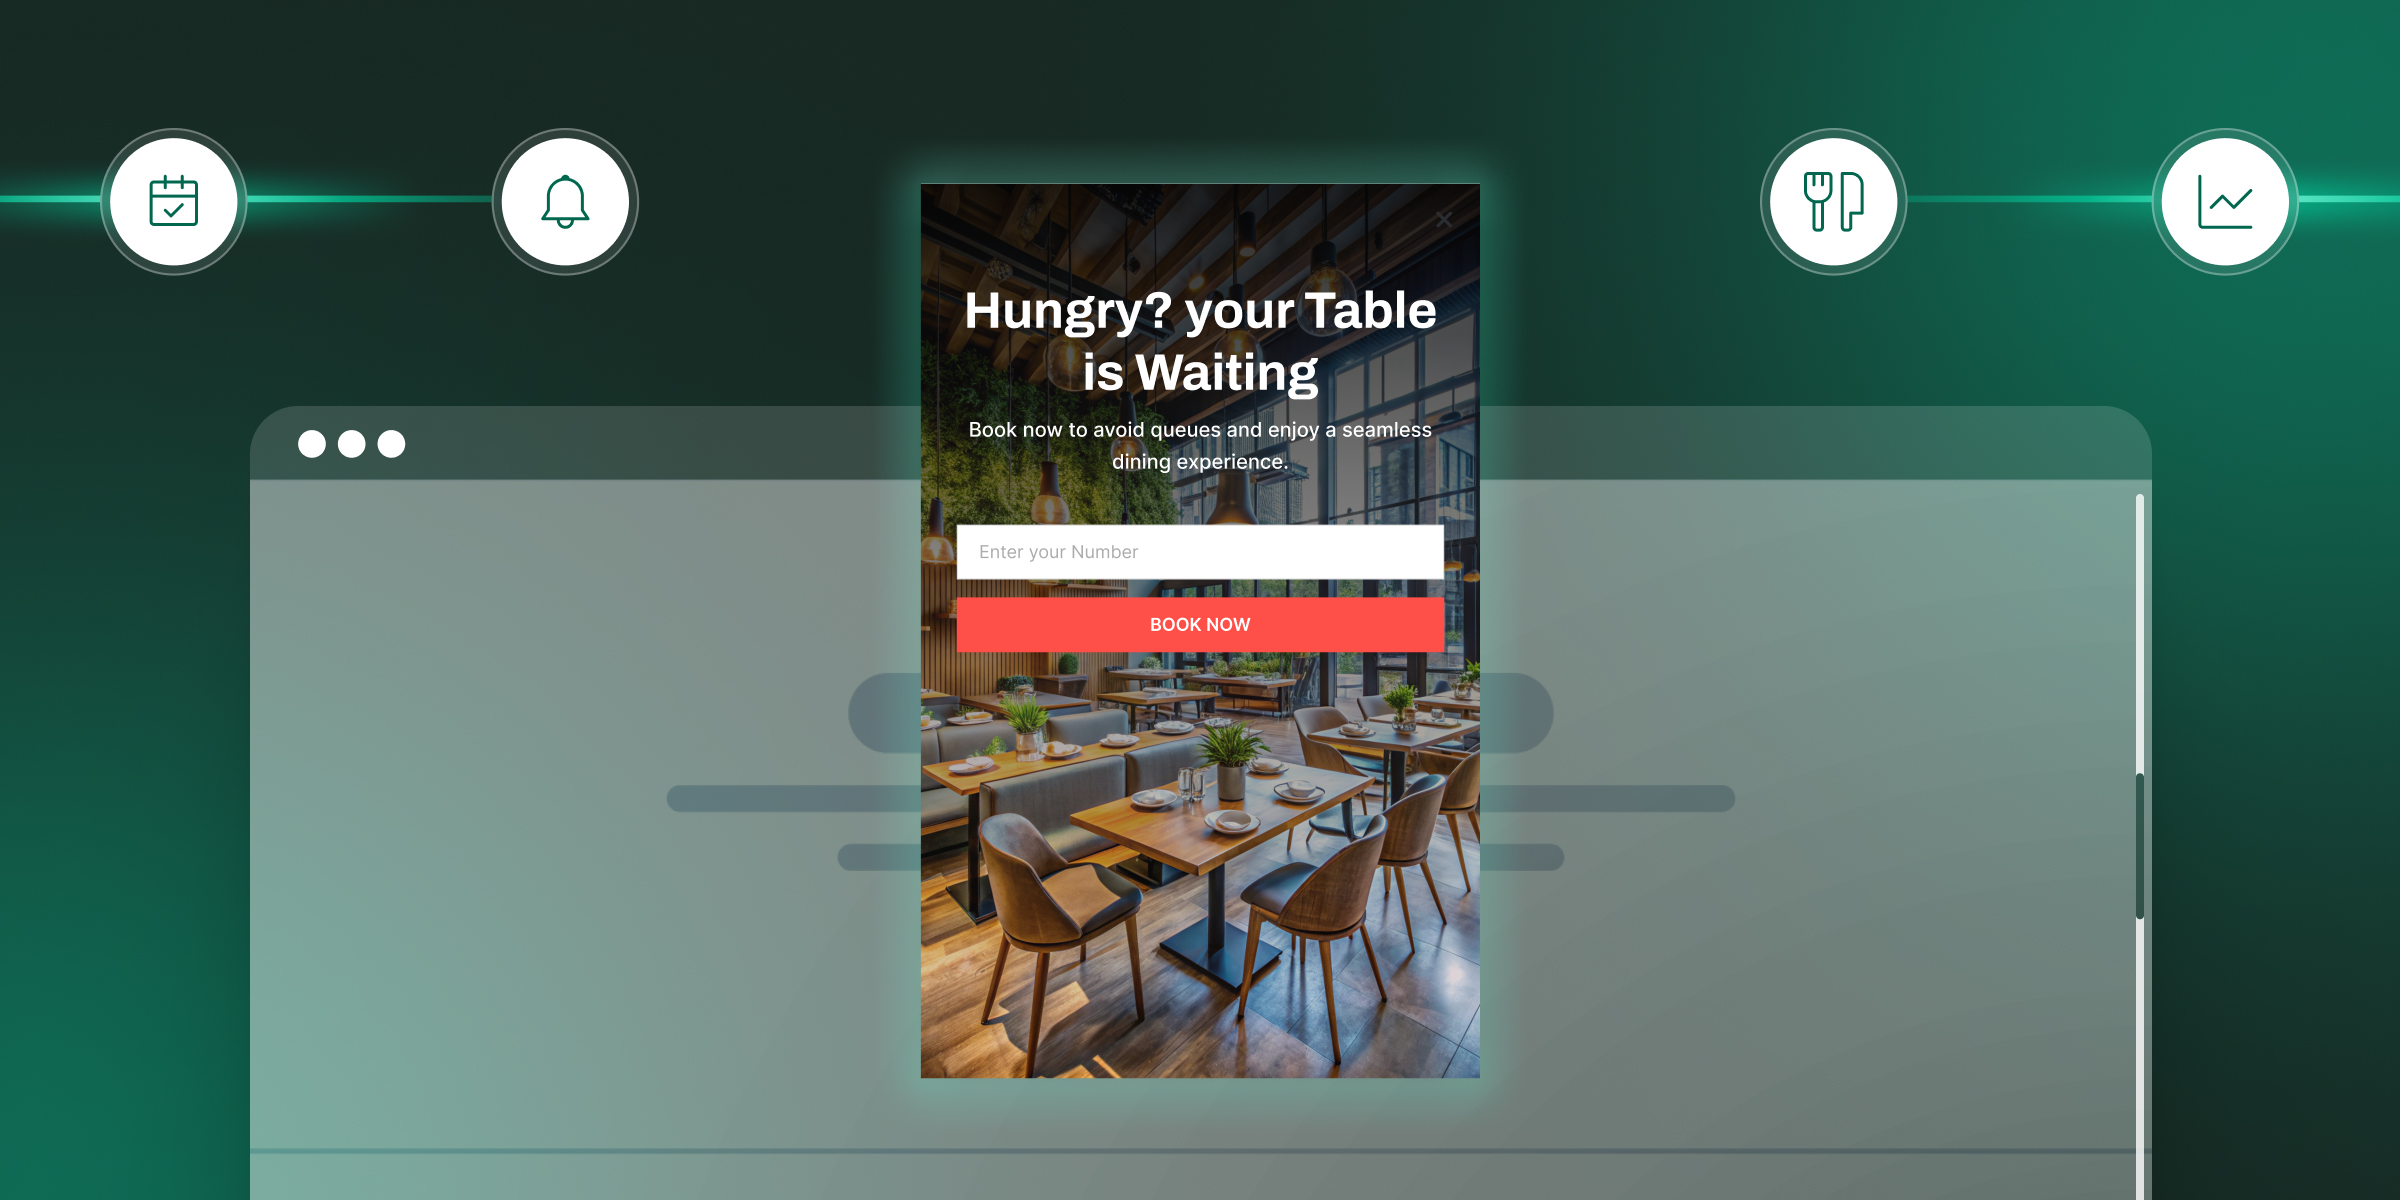
Popup for Restaurant Websites: How to Drive More Reservations and Signups
Do restaurant websites need popups? Yes, they convert menu browsers into table bookings and email signups. See which popup types work best, free with SuperPopups.
Popup for Real Estate Websites: How Agents Capture More Leads Online
Real estate agents lose leads daily from property browsers who don't enquire. Learn how a popup for real estate websites captures more leads free with SuperPopups.
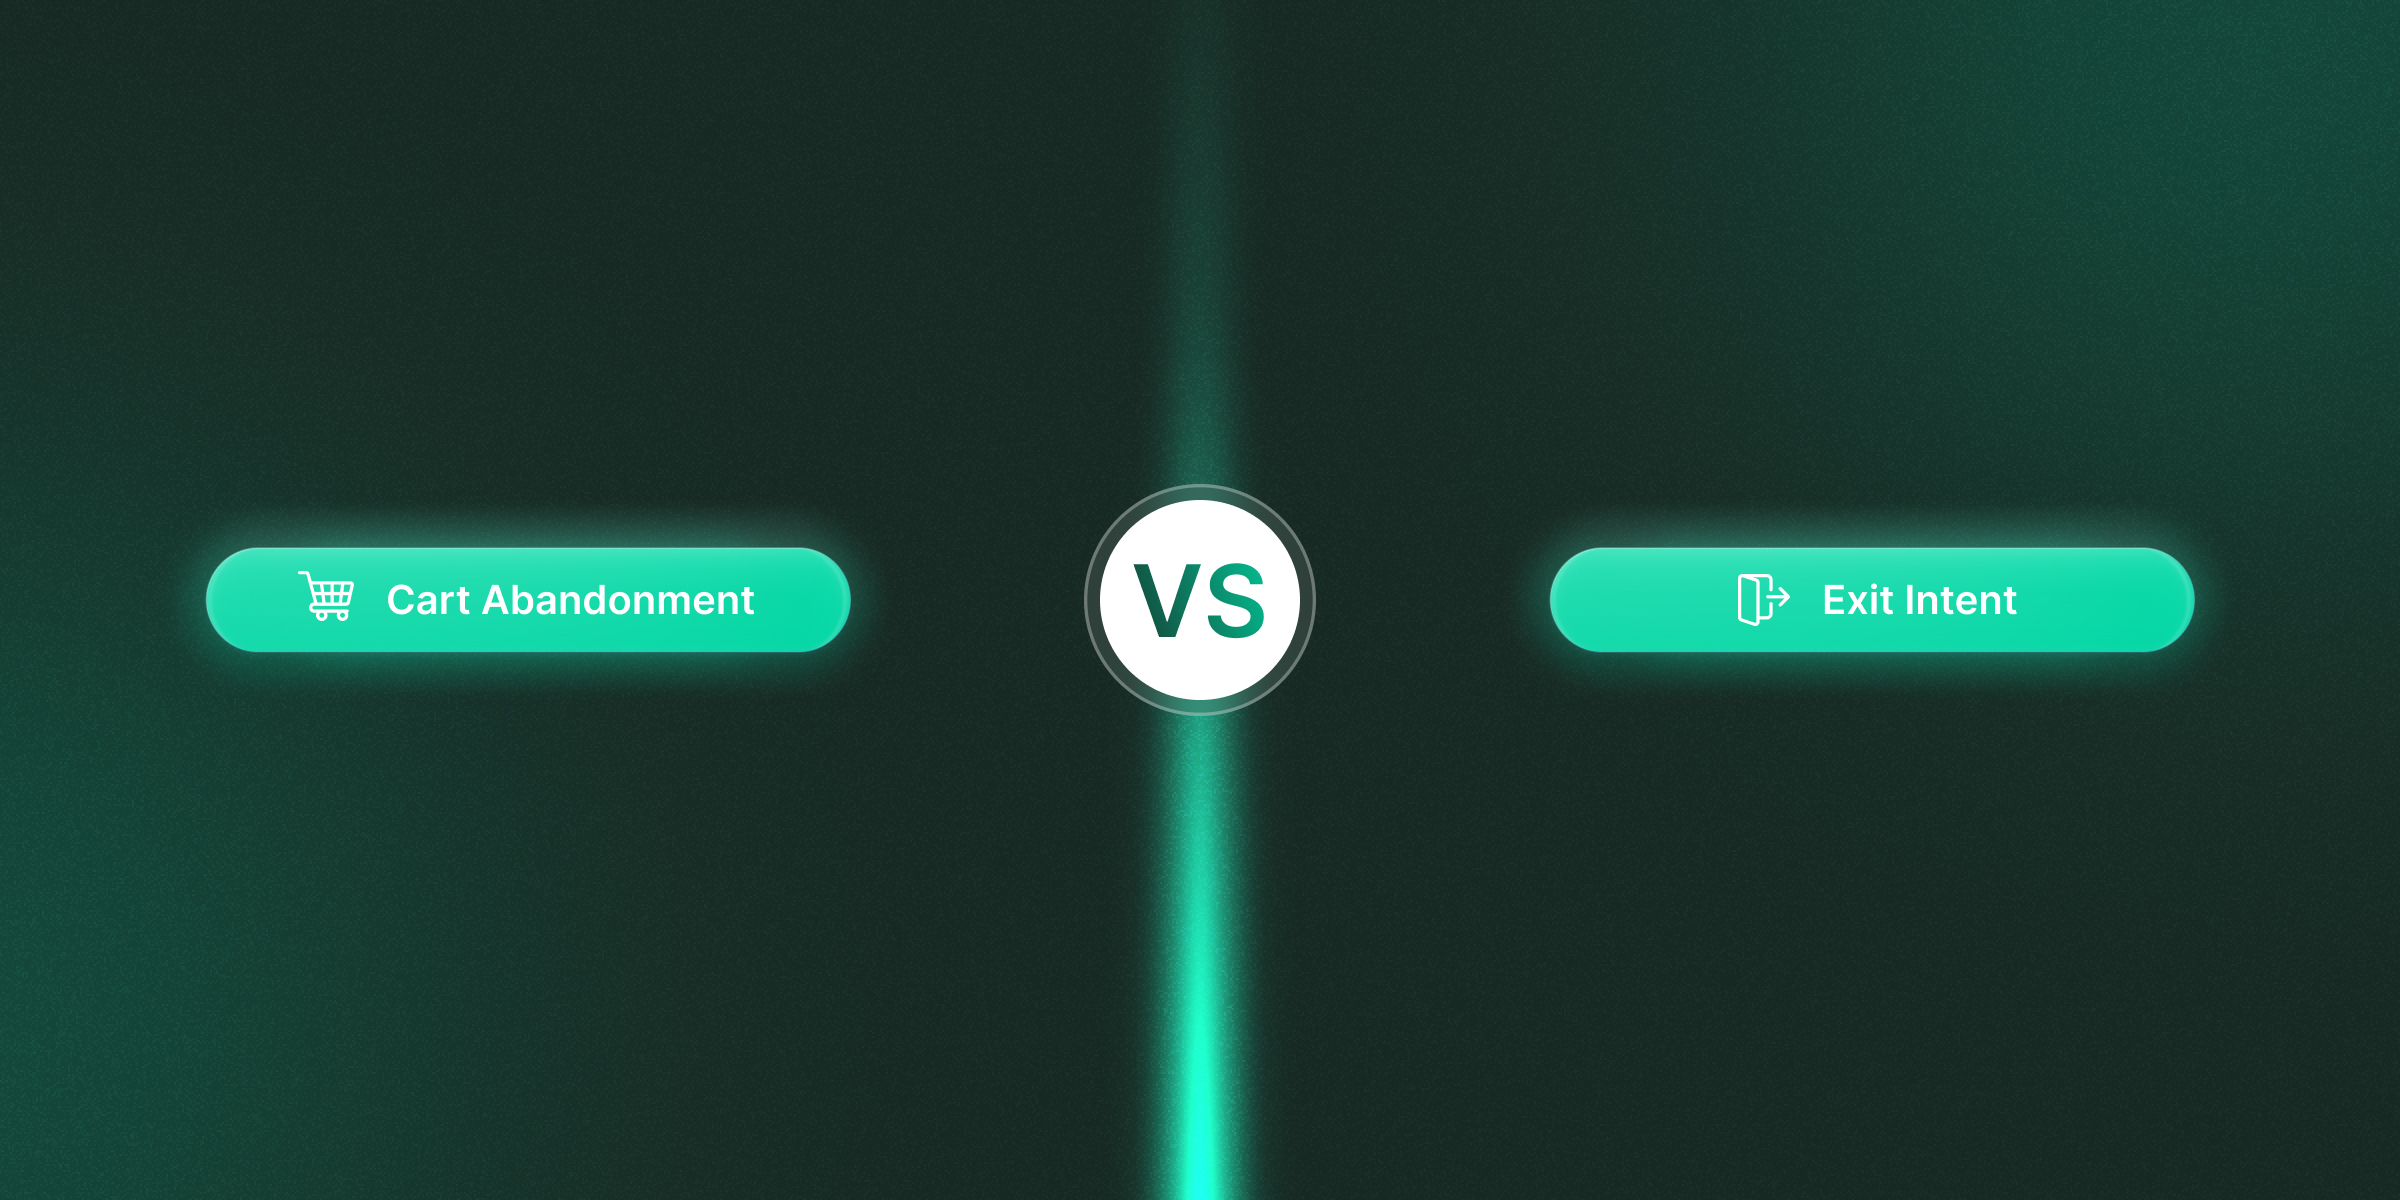
Cart Abandonment vs Exit Intent: What's the Difference and Which Should You Use?
Cart abandonment popups convert at up to 17% on cart pages. Exit intent works on every page. Learn the real difference and when to use each, plus how to set both up free.
How to Use Popups to Grow a Shopify Store: Complete 2026 Strategy Guide
Want to grow your Shopify store with popups? This 2026 guide covers every popup type, trigger, placement & setup, email capture, exit intent, cart abandonment & more.
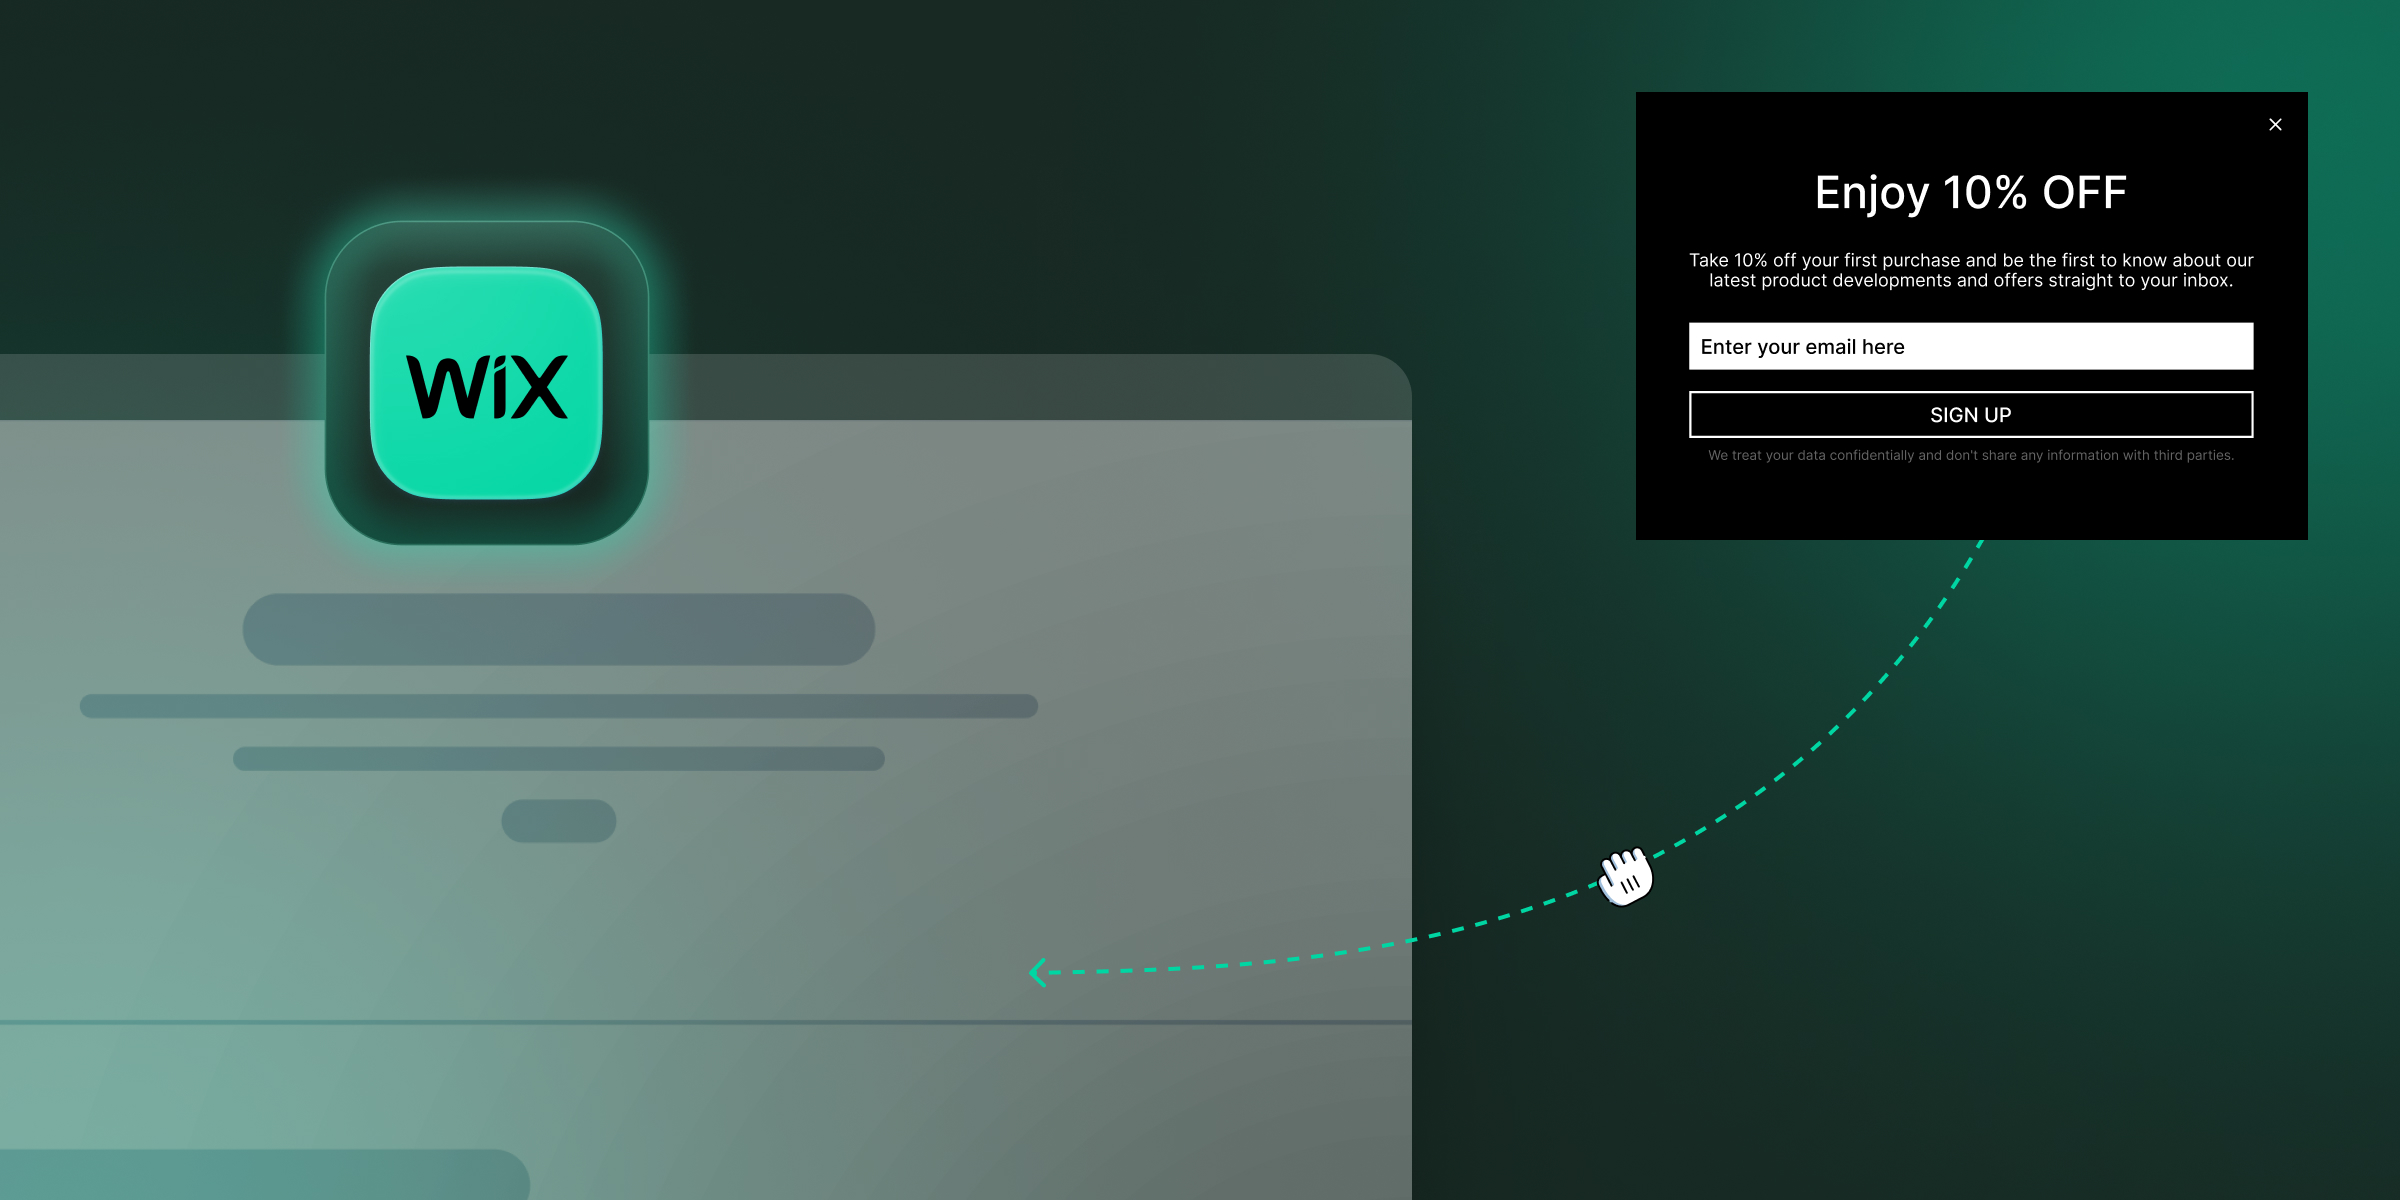
How to Add a Popup to Wix Without a Plugin (No Code)
Learn how to add a popup to Wix without a plugin using no-code methods. Follow our simple step-by-step guide to create stunning popups on your Wix website fast.
How to Add a Popup to Your Squarespace Website (No Code)
Learn how to add a popup to your Squarespace website without any code or plugin. Use SuperPopups to launch email capture, exit intent & discount popups in minutes.
How to Use Popups on Blog Posts Without Hurting Readership
Learn how to add popups to blog posts without hurting readership. Timing, triggers & placement tips to grow your email list while keeping readers engaged.
Free Popup Builder for Small Businesses: Best No-Cost Tool in 2026
The best free popup builder for small businesses in 2026, No credit card, no code, no expiry. Capture emails, recover abandoning visitors, and grow sales from day one.
Popup Templates: How to Choose the Right Design for Your Goal
Discover how to choose the right popup templates for your goal. Explore popup design tips to boost conversions, grow leads, and engage visitors effectively.
How to Create a Popup for Your WordPress Website (Free, No Plugin Required)
Create a popup for your WordPress website in under 5 minutes, free, no plugin, no coding. Step-by-step setup guide using a lightweight script that won't slow your site.
How to Use Popups to Promote Flash Sales and Limited-Time Offers
Learn how to use flash sale popups to drive urgency, boost conversions, and promote limited-time offers, with countdown timers, triggers, and real examples.
Newsletter Popup: How to Get More Subscribers Without Being Annoying
Learn how to use a newsletter popup to grow your subscriber list fast, without annoying visitors. Tips to boost signups while keeping your user experience smooth.
Do Popups Affect SEO? How to Use Them Without Getting Penalized
Popups don't hurt SEO, unless they break one Google rule. Learn which popups trigger the intrusive interstitial penalty and how to use them safely in 2026.
Add a popup to your Shopify store without installing an app. One lightweight script, no code, no App Store fees, live in under 10 minutes. Here's exactly how to do it.
Popup vs Banner: What's the Difference and Which Converts Better?
Popup vs banner, what's the difference, and which converts better? Compare both formats and find out which drives more leads, clicks, and sales for your website.
Learn how to write popup copy that converts, headline formulas, CTA button text, and micro-copy tips backed by data. First-person CTAs alone can lift clicks by 90%.
Popup for Ecommerce: How to Use Popups to Increase Sales
70% of shoppers abandon their cart. Ecommerce popups fix that. Learn which popup types convert best, what to offer, and how to set one up in under 10 minutes.
Learn how to reduce bounce rate with exit intent popups. Discover proven strategies to re-engage leaving visitors and boost conversions on your website.
How to Use Popups for Lead Generation (Complete Guide)
Learn how to use popups for lead generation with proven strategies, timing tips, and design best practices to capture more leads and grow your email list fast.
Popup Conversion Rate: What's a Good Rate & How to Improve It
Learn what a good popup conversion rate is, industry benchmarks, and proven tips to improve your popup performance and boost conversions. Start optimizing today.
Email Capture Popup: How to Grow Your Email List Faster
Learn how email capture popups grow your email list faster. Types, triggers, best practices & real examples. Start converting visitors into subscribers today.
How to Add a Popup to Your Website in 5 Minutes (No Code)
Learn how to add a popup to your website in just 5 minutes, no coding required. Step-by-step guide to launch your first popup and capture more leads today.
No-Code Popup Builder: What It Is & Why It Matters (2026)
A no-code popup builder lets you create exit intent, email capture & discount popups without coding. Learn what it is, how it works & why it matters in 2026.
Looking for the best popup builder for Shopify? This 2026 guide covers top tools for exit intent popups, email capture, discount popups, and cart abandonment, with free plan options included.
Popup Design Best Practices: UI, UX & Psychology for Higher Conversions 2026
Popup design best practices 2026: UI, UX, and psychology tips to create high‑converting popups that reduce friction, boost engagement, and respect user experience.
Popup Builder vs WordPress Popup Plugin: Which is Better in 2026?
WordPress popup plugins slow your site 30-50%. Script-based builders like SuperPopups are faster, flexible, and work on any platform. Free plan available.
Top 5 OptinMonster Alternatives to Boost Conversions in 2026
Looking for the best OptinMonster alternatives? Find top 5 powerful popup and lead generation tools for 2026 with features, pricing, and tips to boost conversions
What Is a Lightbox Popup and Why SaaS Businesses Should Use It?
Learn what a lightbox popup is and why it is most importance for SaaS businesses. Know about its benefits, examples, and tools to increase sign-ups and engagement.
Find the top 10 best popup builders of 2025 to boost conversions, capture leads, and reduce cart abandonment. Compare features and pricing to choose the right popup software for your website.
What Are the Types of Website Popups? The Complete Guide for SaaS Businesses in 2025
Learn the different types of popups, designed to boost conversions without ruining user experience. And how SuperPopups help your SaaS business growth.
SuperPopups vs. OptiMonk: Complete Comparison Guide 2026
Compare SuperPopups vs. OptiMonk to find the best popup builder for your business. Find key differences in pricing, features, ease of use, and conversion performanceupdated for 2025.
Find the Webflow powerful pop-up builder tool to boost conversions, capture leads, and enhance user engagement without coding. Easily create, customize, and manage popups in Webflow.


.jpg)


.jpg)


.jpg)


.jpg)
.jpg)
.jpg)


.jpg)